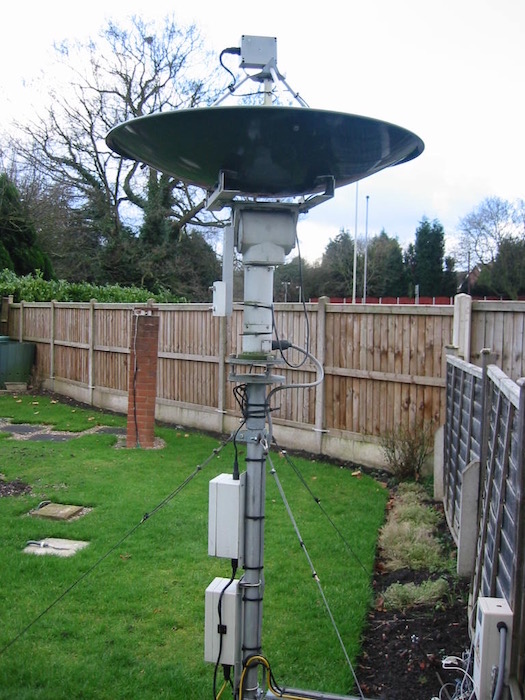
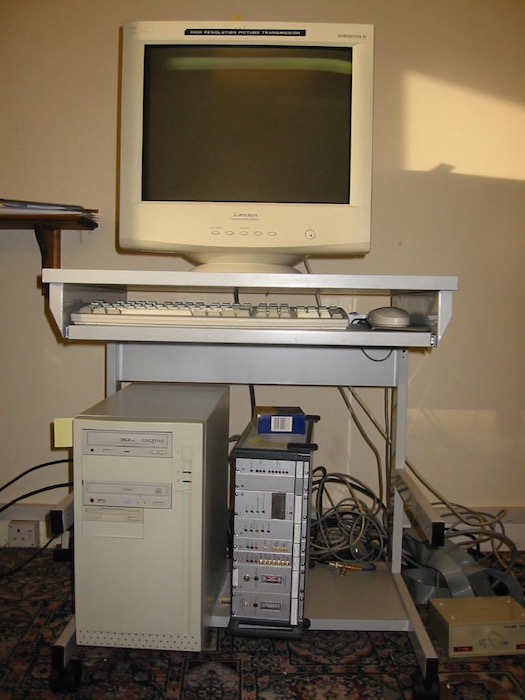
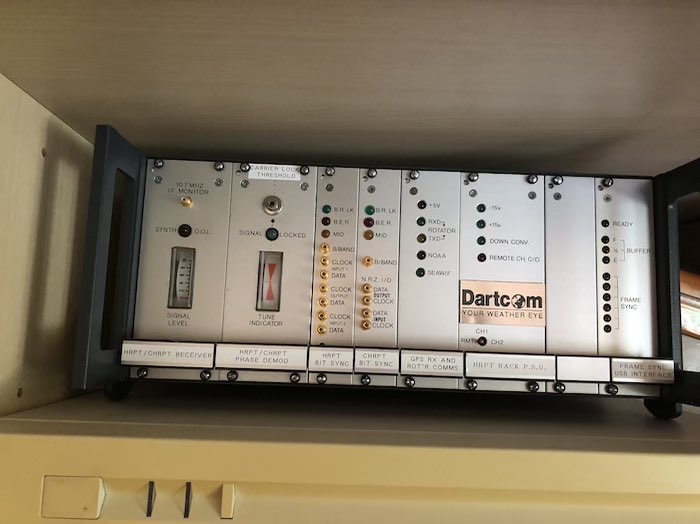
These notes were written by Ben Ramsden on 08-Jan-19 from memory to provide very basic reassembly assistance.


Important points
- This system was formerly owned and loved by the late Cedric Roberts MBE of Halesowen, West Midlands, UK. He would be delighted to know that it has a good home. It has given me many hours of pleasure. Credit also to Alan Smith of Worcester, UK for his dedicated support and assistance.
- Do not do a full reset within the Rotator Tab Status Window because it will overwrite the existing software end stops. See Dave Wright email instructions dated 07-Feb-04
Resources
- Guide to hrpt_chrpt_grabber_software (1MB)
- Guide to siamiv_macropro_software (3.3MB)
- Additional paper instructions in A4 cardboard box (Second line maintenance manual, Pan & Tilt Head, and email about software end stops). Note not all of this applies to this particular system configuration.
- System Photos (4.6MB)
- Keplers07Jan19
- Group for Earth Observation
- Dartcom
Reassembly notes
- Dish will require clear (unobstructed) view of the sky throughout a pass to work. Unlike with VHF, foliage, wires, etc will kill the signal.
- Dish alignment is critical. Use compass, spirit level and plumb line. Mounting pole must be vertical. All mounts must be level.
- Orientation should be true north (see small vertical line on the Az/El mount in IMG_4177). Photo view is towards the north.
- Ensure secure anchoring. Topping of dish during wind or usage could require significant repair effort. Small loose movements of the dish during usage will impair or eliminate signal capture
- Key is to eliminate potential points of failure. Satellite passes occur relatively infrequently and the best ones last only 10-15 mins. If you cannot receive a signal during a pass, you need to be able to fault find quickly, which requires being certain that many potential points of failure are not occurring!
- Ignore IMG_4193. Video feed splitting equipment is not required.
- IMG_4174 to 4196 are taken at QTH of late Cedric Roberts in UK. IMG_4199 and 4200 show bench test in UK. 5674 bench test in Australia (missing adequate base support).
- IMG_5854 shows repair to radio front end after shipping damage. Repair was not entirely successful and resulted in reduced signal strength. Recommend reduce length of feed line and use high quality components (Dick Smith adapter was believed to be part of the issue). Use radio engineering best practice for 1.69GHz satellite signals!
- Recommend follow latest technical news about the weather satellite fleet. Operational situation periodically changes (antenna and frequency changes, equipment out of service, etc).
- During reassembly testing, recommend plan day around satellite schedule. There could be a very few high elevation satellite passes during the day, and you don’t want to miss them. Recommend use an entirely separate weather satellite prediction system to plan ahead.
- In Europe, testing the system against a geostationary WEFAX satellite is a fantastic feature. I am not aware whether there are any equivalent methods available for use in Australia. Recommend checkout Japanese WEFAX fleet capability.
- Note PC includes a dongle to enable the Dartcom software.
- PC has not been backed up, and back-up discs are not available. Recommend archiving its hard disk contents as a priority.
- I/O file access to the PC must be set up, especially for uploading latest Kepler elements. In the past we have used a floppy disk(!)
- Highly recommended that all documentation is reviewed prior to doing anything. Do not switch anything on unless/until all components are plugged together correctly.
- Waterproof all connections exposed to the elements, especially for the radio frequency components, even if left out for a only a short period.
- Recommend Keplers are updated weekly. Stale Keplers will result in low / zero signal strength.